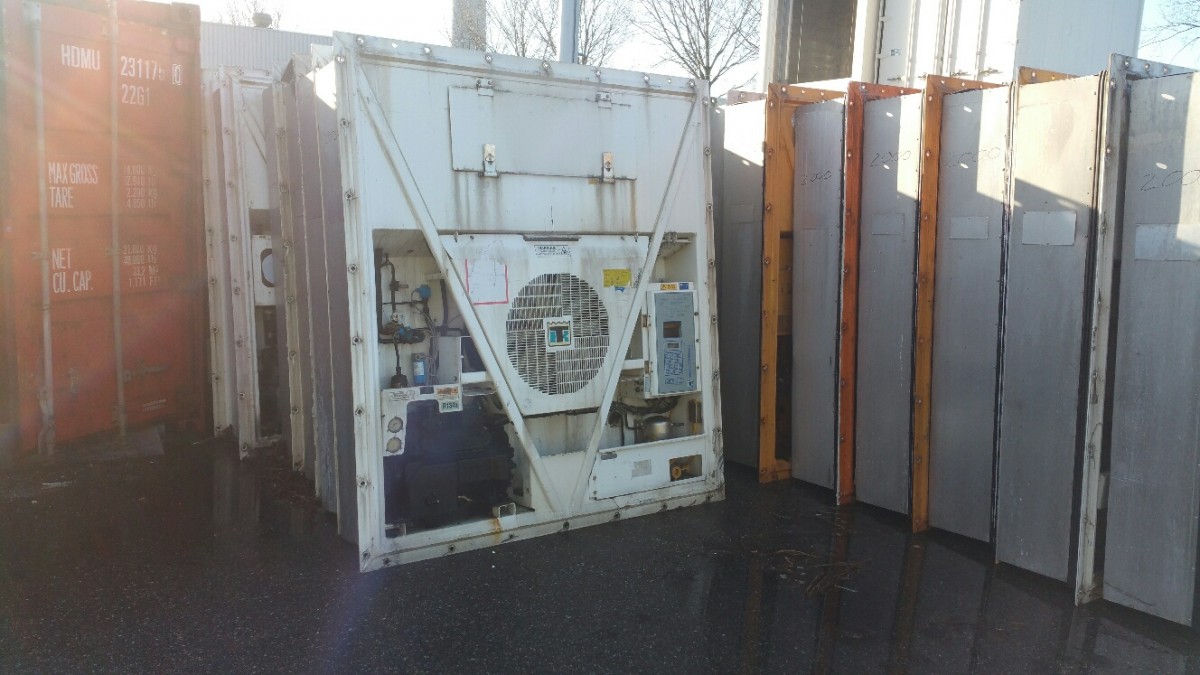
Buy Thermo king MP4000 Unit Online
Thermo king MP4000 Unit For Sale
We do Replacement of the old refrigerator unit with a new one
Refrigeration unit for refrigerated container Thermo King (Thermo King) mp4000.
Compressor year: 2020
Fully tested electronics.
Warranty applies.
Delivery anywhere in the USA.
Many elements have been replaced with new ones
All installations were removed from completely working refrigerated containers.
Unit come with New Keypad MP4000 42-2871 Thermo King
Self-adhesive facade
MP4000

Technical specifications
MP3000 facade 42-2871 Thermo King
Over time, the facade becomes tarnished and reading becomes complicated. Changing the front panel allows you to regain easy reading of the LCD screen.
Compatibility: any ThermoKing refrigerated container group equipped with MP4000.
Details: self-adhesive facade with computer tablecloth
Deadline : in stock
Electrical ratings and requirements
Product Supply Ratings:
– Power Supply: 24 VAC +20/-30% 50-60 Hz or 24-41 VDC
– Power consumption max: 36 VA
Power line communication voltages ratings:
– Rated voltage 440 V, 3 Phases +20/-30%
– Frequency: 50-60Hz
– Power consumption max: 0.1 A
Disconnect Device:
– This product requires a disconnect device. The disconnect device must be easily accessible by the service personnel.
Fuse:
– This product requires an external over current protection device.
– Maximum allowable fuse size is 32 A.
Warning:
– This product is for intended use only in a restricted access location. Access can only be gained by SERVICE PERSONS or by USERS who have
been instructed about the reasons for the restrictions applied to the location and about any precautions that shall be taken
– This product is for build in only, and requires a suitable electrical and fire enclosure in the final place of installation. Minimum fire requirement for electrical enclosure is UL 94 V-2.
Warning for improper use of rechargeable battery:
– Only replace with rechargeable Emerson battery of same type
CAUTION
RISK OF EXPLOSION IF BATTERY IS REPLACED BY AN INCORRECT TYPE. DISPOSE OF USED BATTERIES ACCORDING TO THE INSTRUCTION
3-Caution!
During the installation 2 holes are to be drilled in the controller front door.
Make sure that power is off, unit is disconnected and that no parts inside the unit are damaged during the drilling.
CHECK CONTAINER ID: Container ID in the container controller must be correct
– verify and correct if necessary.
CHECK CONTROLLER SOFTWARE: It is strongly recommended to update to latest controller software: MP-3000 and MP-3000a Minimum required controller sw: 120608 00
4-RMM+ unit installation guide on Thermo King MP-3000 units
Required tools:
• 19mm Drill
• Marker
• Cutting compound for the drill
• Drill for removing burrs
• Degreasing rags
• Screwdrivers
• Side cutting pliers
RMM+ kit: RMM+ unit and combined Bluetooth/GPRS/GPS antenna with cable and connectors and new Warning label.
5-RMM+ unit installation guide on Thermo King MP-3000 units
1: Place the drilling guide centered to the controller box
2: Mark the two 19mm holes before drilling
3: Use a step drill to drill the holes (recommended drilling diameter max 19mm)
4: Once the holes are drilled with the 19mm drill, remove all burrs, if any. Remove drill guide
5: Fit the antenna with the two supplied PG11 nuts. Tighten the nuts firmly (Torgue 2.5 Nm) Mount the supplied warning label on the antenna
6-RMM+ unit installation guide on Thermo King MP-3000 units
• Remove the old modem if one is installed. If no modem is installed continue to section 8.
• Disconnect the cables.
• Loosen the screws to remove the old modem.
7-RMM+ unit installation guide on Thermo King MP-3000 units
8-Connect the 2 white power wires for the modem, to the transformer found in the upper left corner.
9: Use the 2 right most terminals with designations 5 and 6. RMM+ unit installation guide on Thermo King MP-3000 units
10: Connect the communication cable of the new modem.
11: Fit the new RMM+ modem with the supplied 4 screws.
RMM+ unit installation guide on Thermo King MP-3000 units
12: Connect the plugs for the antenna by matching the colors. Make sure no cables are with tension.
13: Guide the cable from the antenna to the RMM+ device, use cable ties to secure that cables dont link.
14: Connect the power plug to the connector beneath the blue antenna plug. Tighten the screws.
RMM+ unit installation guide on Thermo King MP-3000 units
15. Turn on the reefer and verify functionality of the RMM+ unit.
”Power ”and ”Ctrl” LED`s must be steady for verification


